From blank screen
to printed receipt
No setup wizard, no manuals, nothing to configure before you're allowed to start. Here's exactly what happens, screen by screen, from opening the app to a customer walking away with a printed receipt.
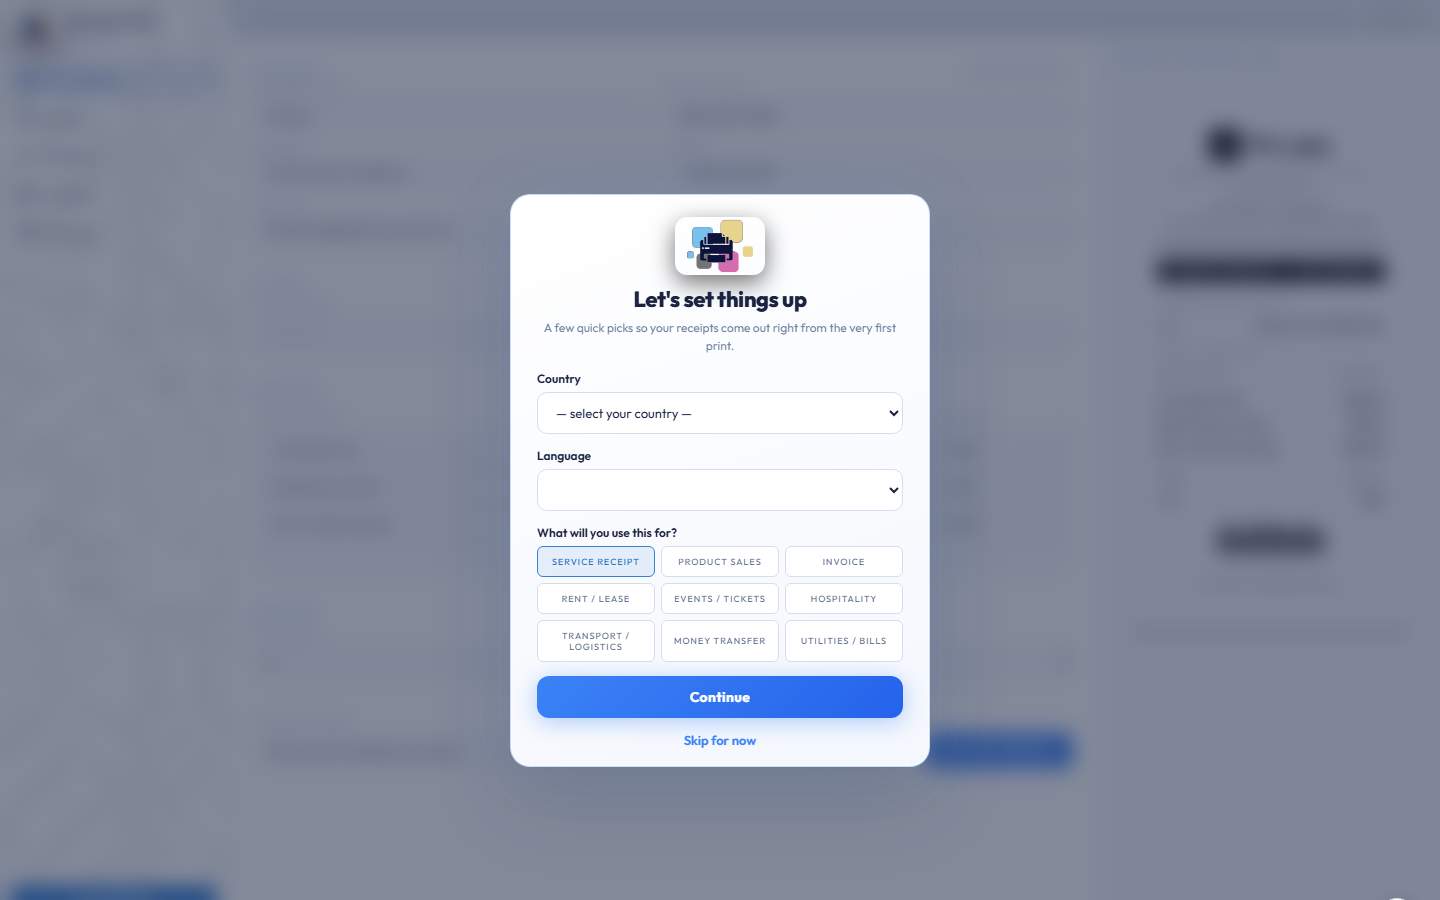
Tell it what kind of business you run
Open the app and answer three quick questions: your country, your language, and what you'll be printing — service receipts, product sales, invoices, and six other business types. That's it. No forms, no email verification required to look around.
- Your country sets currency, tax label, and date format automatically.
- Pick from 14 languages — the whole app translates, not just the receipt.
- Change your mind later — every choice here lives in Settings, always editable.
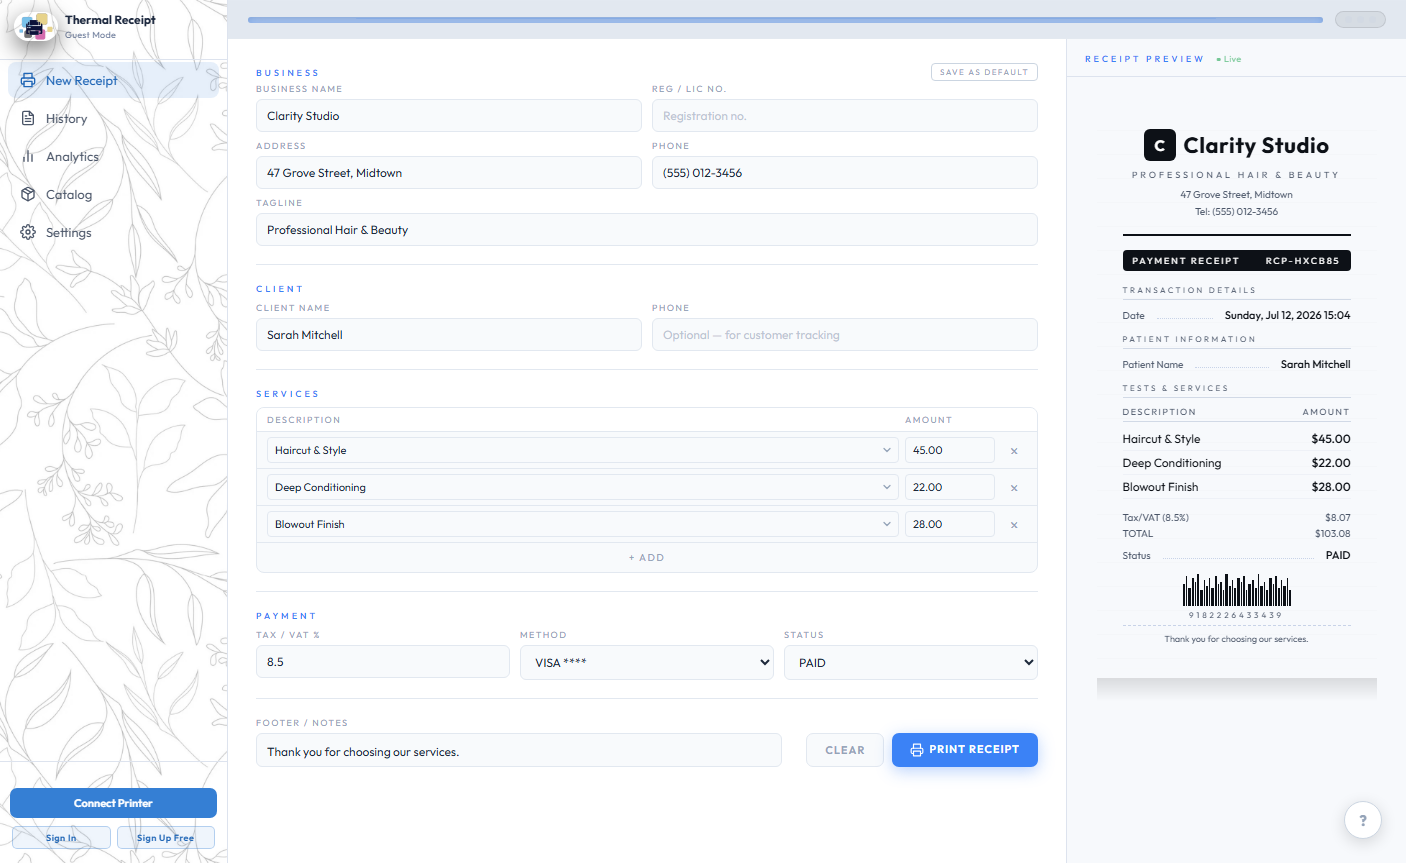
Build the receipt, watch it update live
Type in the client, add line items from your catalog or free-type new ones, set tax and payment method — and watch the receipt preview update on every keystroke. What's on the right is exactly what comes out of the printer, so there's never a surprise on paper.
- Tap the catalog dropdown on any item field to fill name and price in one tap.
- Switch business type mid-form and the fields reshape instantly — no page reload.
- Save your business details once as default — every new receipt starts pre-filled.
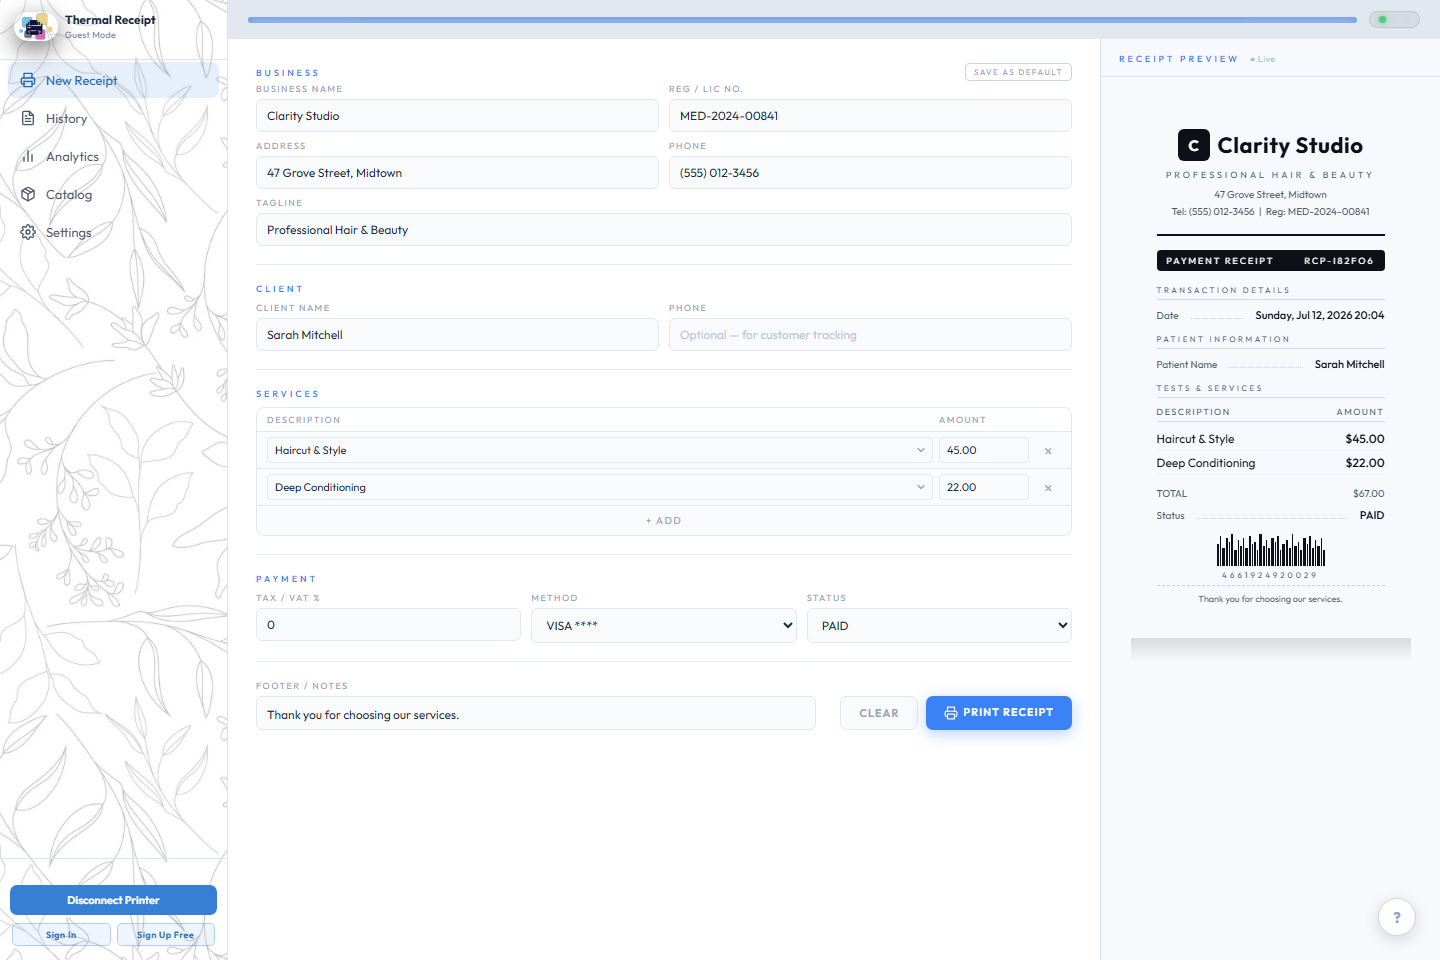
Connect once, then print — or email — in one tap
The first time, tap Connect Printer and pick your thermal printer from the Bluetooth or USB list your device already shows — no drivers to install. After that, the app remembers it. Every receipt after this is just: fill it in, hit Print — or hit Email instead, and the same receipt goes out as a PDF sized to match your paper.
- No thermal printer yet? System Print sends it to any regular office printer instead.
- Works over Bluetooth or USB, and remembers the pairing on that device.
- Out of print credits? A buy-more prompt appears right there — no dead end.
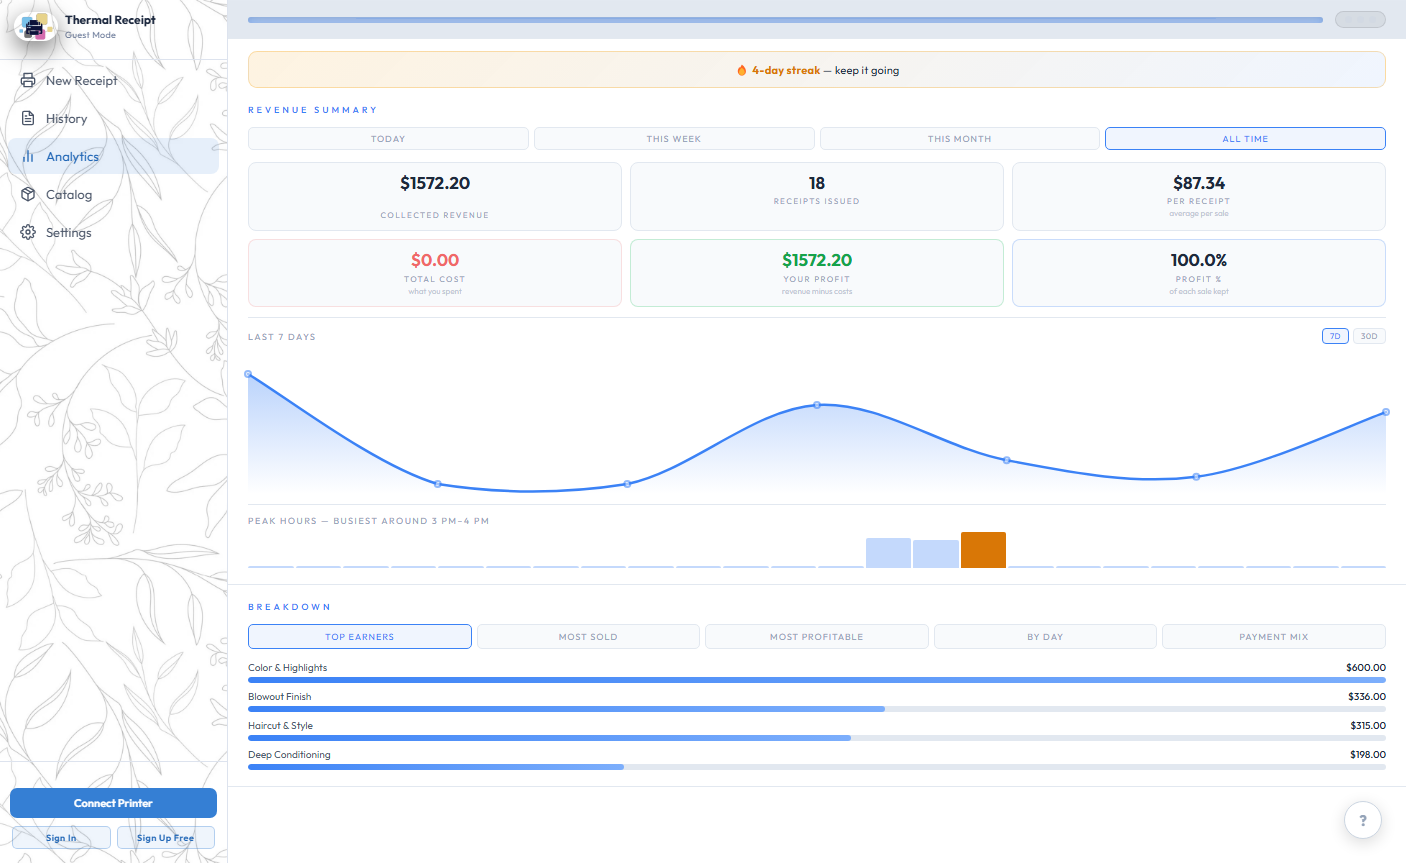
It's already in History and Analytics
The moment you print, the transaction is saved — no export button, nothing to back up. Revenue, top-selling items, and profit margins update immediately, so the numbers on your dashboard are never more than one receipt behind reality.
- Search History by name, receipt ID, or item — one tap to reprint or re-email any of them, always free.
- Analytics breaks it down by day, top earners, and payment method — no setup required.
- Offline when you printed it? It syncs automatically the moment you're back online.
See it for yourself — no signup needed
Open the app and walk through all four steps right now. Connect a real printer and print a real receipt before you ever create an account.
Open the App